Home Page > Help > How-To > How to create a trip in MapSphere
How to create a trip in MapSphere
MapSphere "Trip" is a description of somebody's trip (walk, journey, and so on) with photos,
tracks, chat, blog, and trip plan. You can geotag your photos to see them right on the map.
To create a trip:
-
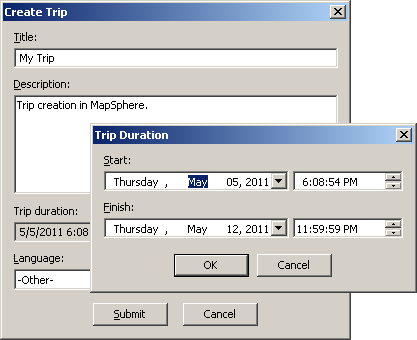
Describe briefly your new trip.
- Choose Trip | New.
-
Fill in all the required fields and click Submit.
Do not worry if something is wrong: you can edit this data later.
-
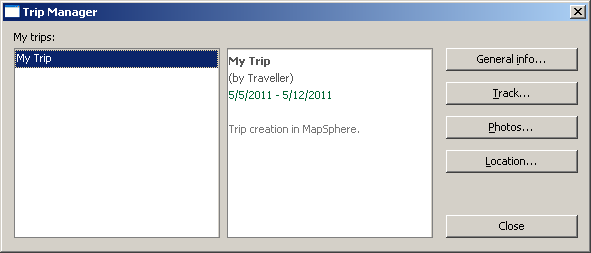
After the trip is created, the Trip Manager dialog appears.
At the left side there is a list of your trips. The newly
added trip is on the top of the list.
-
Assign a GPS track to your trip.
- Choose File | Open track.
- Make sure that only the required tracks are marked in the Tracks pane.
- Click the Track button in the Trip Manager dialog.
-
Click the Upload button in the appeared dialog. Wait
until the track uploading is finished.

-
Add a photo album to your trip.
- Click the Photos button in the Trip Manager dialog.
-
Select photos on your computer and click Open.
The list of thumbnails is displayed in the Photo Geocoding dialog.
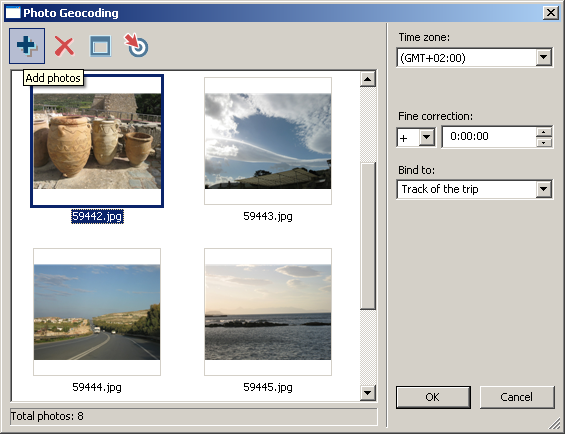
- If your photos are located in several folders, click the Add photos
button (the plus sign) and repeat the previous step.
-
In the Photo Geocoding dialog make sure that "Bind to" is set to "Track of the trip".
MapSphere automatically associates your photos with track points using timestamps.
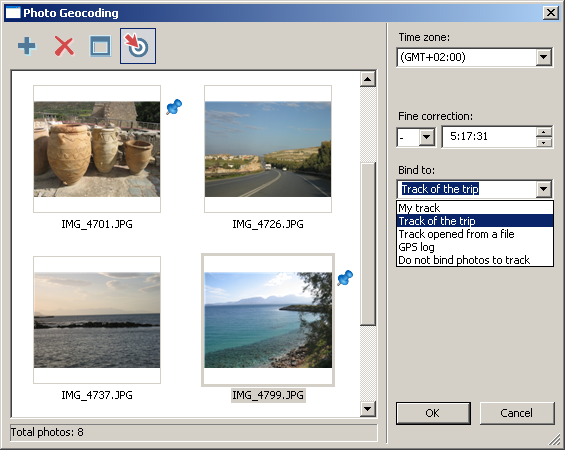
- Adjust photo locations, using "Fine correction". It is usually
a required step since the time on camera and GPS do not match exactly.
- You can manually place photos to the map, dragging their thumbnails
from the Photo Geocoding dialog, if they are not geotagged automatically.
-
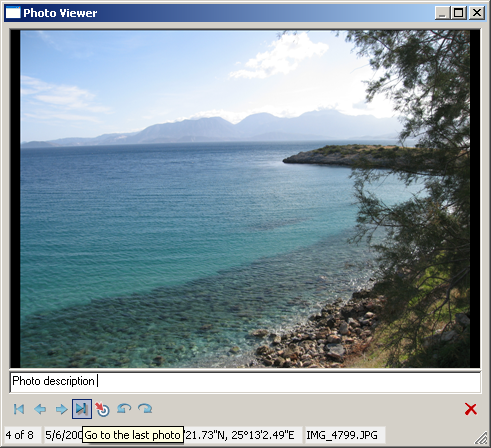
Double-click on a thumbnail. Now it is displayed in the Photo Viewer
dialog, where you can write description, rotate, or delete photo from the upload list.
- Finally, set "Photo resolution" in the Photo Geocoding dialog
and click the OK button to upload your photos to the server.
-
Select the trip cover.
After photos are added to the trip album you can set the cover.
-
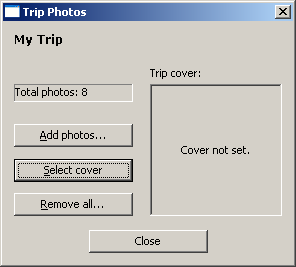
Click the Photos button in the Trip Manager dialog.
-
Click the Select cover button in the Trip Photos dialog.
-
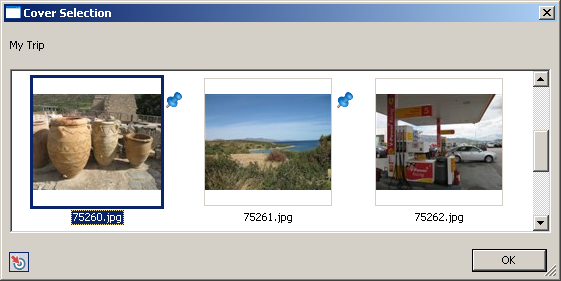
In the Cover Selection dialog, choose the most convenient photo
that represents your trip.
-
Click the OK button in the Cover Selection dialog to set
the chosen photo as the trip cover.
-
Specify the trip location.
When a user double-clicks on a trip in the Trips pane, the map
is positioned on the track of the trip.
To change this behavior:
-
Move the map to the required location and adjust zoom level.
-
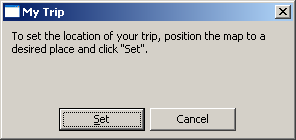
Click the Location button in the Trip Manager dialog.
-
Choose Set in the appeared dialog.
Notes:
-
You can add photos, plan and blog posts to your trip on the
MapSphere Online site,
or completely
create new trip but without tracks.
-
You can record GPS track of your trip and upload it to MapSphere Online right on your iPad
with MapSphere GPS Logger.
|

